
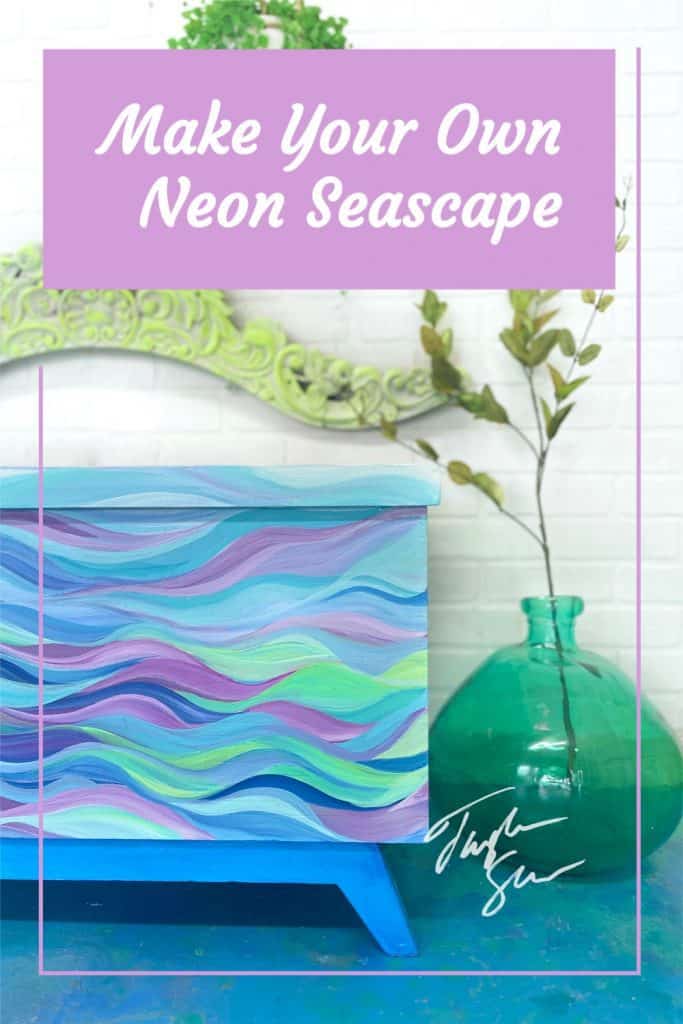
Making Neon Waves With Daydream Apothecary Paint
In today's furniture painting tutorial, I'm going to teach you how mastering just one simple shape may help you break through any creative barriers you may be facing. Daydream Apothecary Neons will be my paint of choice today and a discarded trunk will be my canvas. Neon (and the 80's) are back and I'm excited to give you some neon paint ideas in this paint tutorial today.
As I do in every blog, you can jump to the full video tutorial, read my backstory here, or even enjoy the short videos I made while I upcycled my furniture piece. Or you can do all three. I just love to give you options.
In a small business world, where social media is a hungry beast, demanding to be constantly fed, sometimes you just need to paint for the sake of painting. I love creating complex designs and layering a myriad of furniture paints onto my furniture makeovers (here are just a few I've created recently), but sometimes even I can get overwhelmed. I crave something simple. Colorful of course, but more simple.
I just want to stop thinking and let the chalk paint flow my friends.
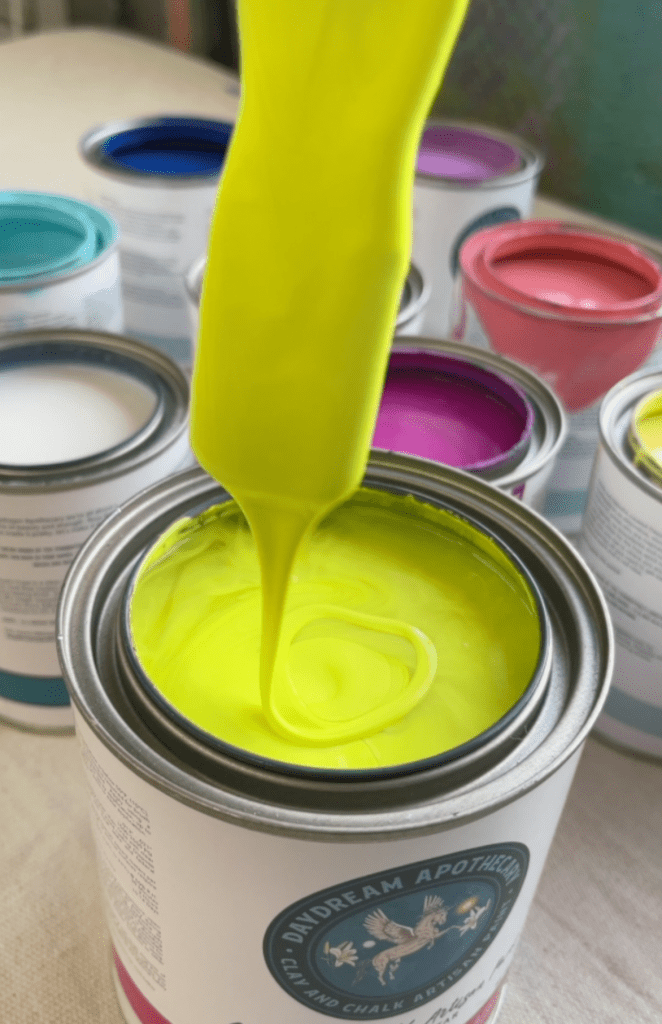
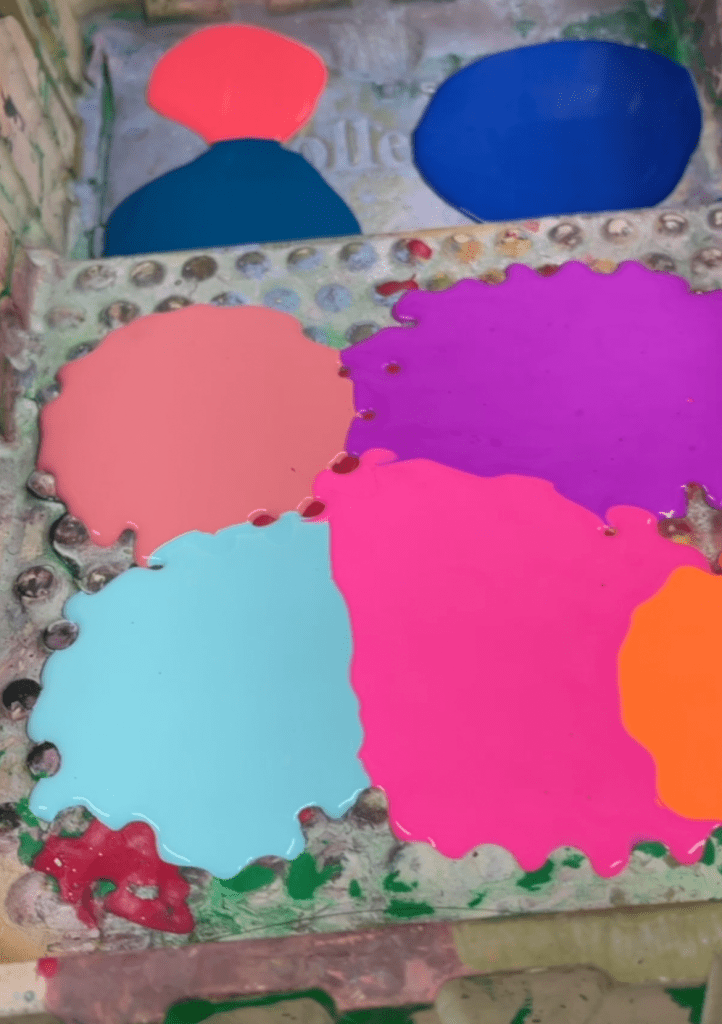
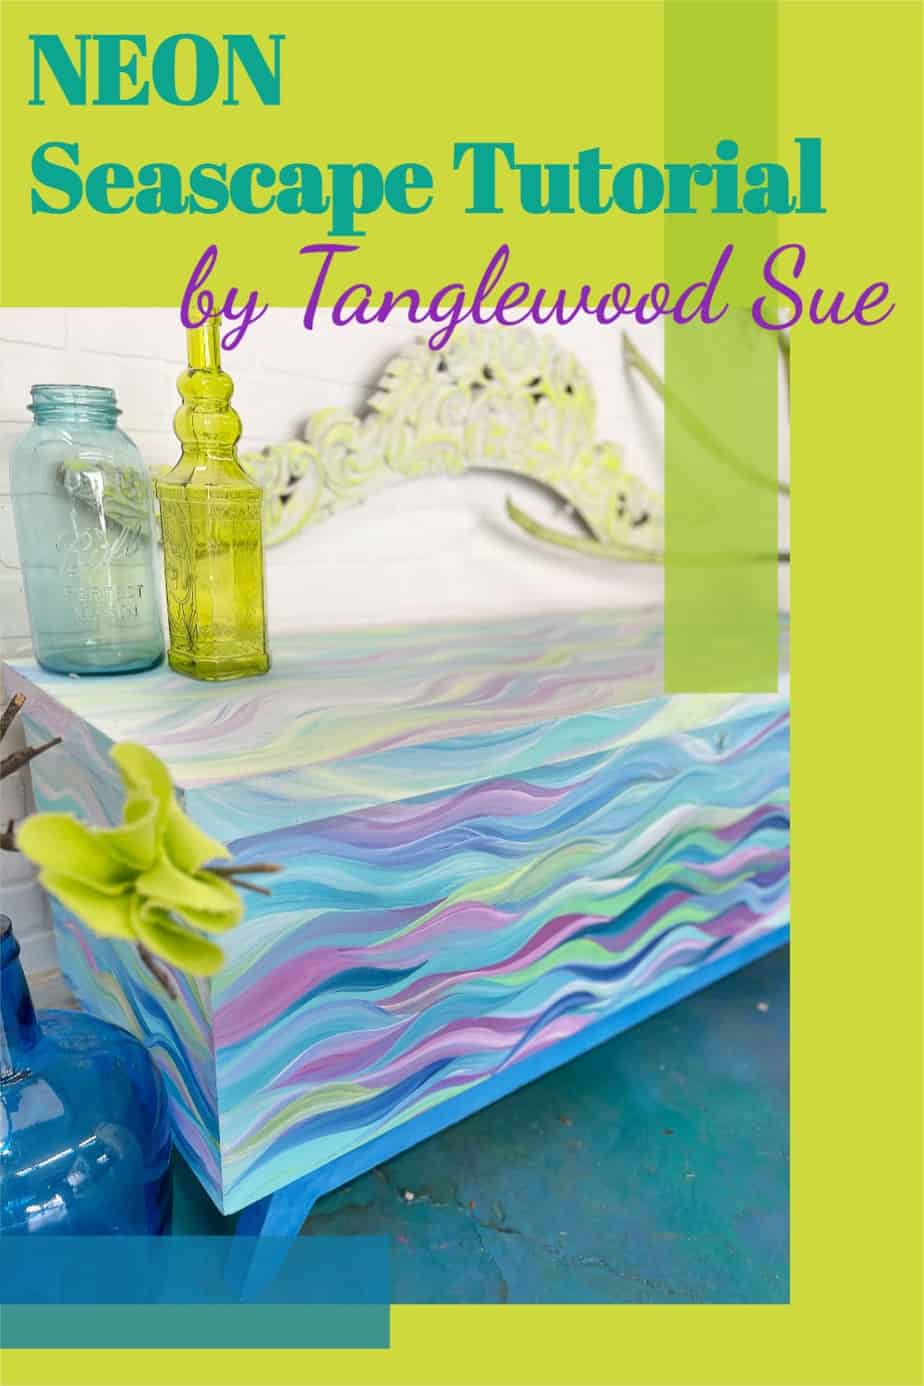
For this project, I really wanted to use my favorite neon colors by Daydream Apothecary; Soul full of sunshine, Four Boys Blue, and of course some Hot Damn Violet. I also wanted to try out some of the new Coastal Collection by Worn to Whimsey. Saltwater, Sea La Vie, and Hemingway were just calling my name, and I intended to answer.
If you have not heard about or tried Daydream Apothecary Paints be sure to check out my review here.
Full Disclaimer, I am a retailer of Daydream Apothecary Paint, but I was in no way compensated for this review.
It's straight from the heart. Currently, Daydream Apothecary has three lines: Neons by Anissa, Coastals by Worn to Whimsy, and Botanicals by Chloe Kempster. They are highly pigmented clay and chalk-based furniture paints that, like Debi's Design Diary, reconstitute with water. In my personal experience, it's important to use furniture paint for furniture. You can use latex but only if you know how to properly chalk it.
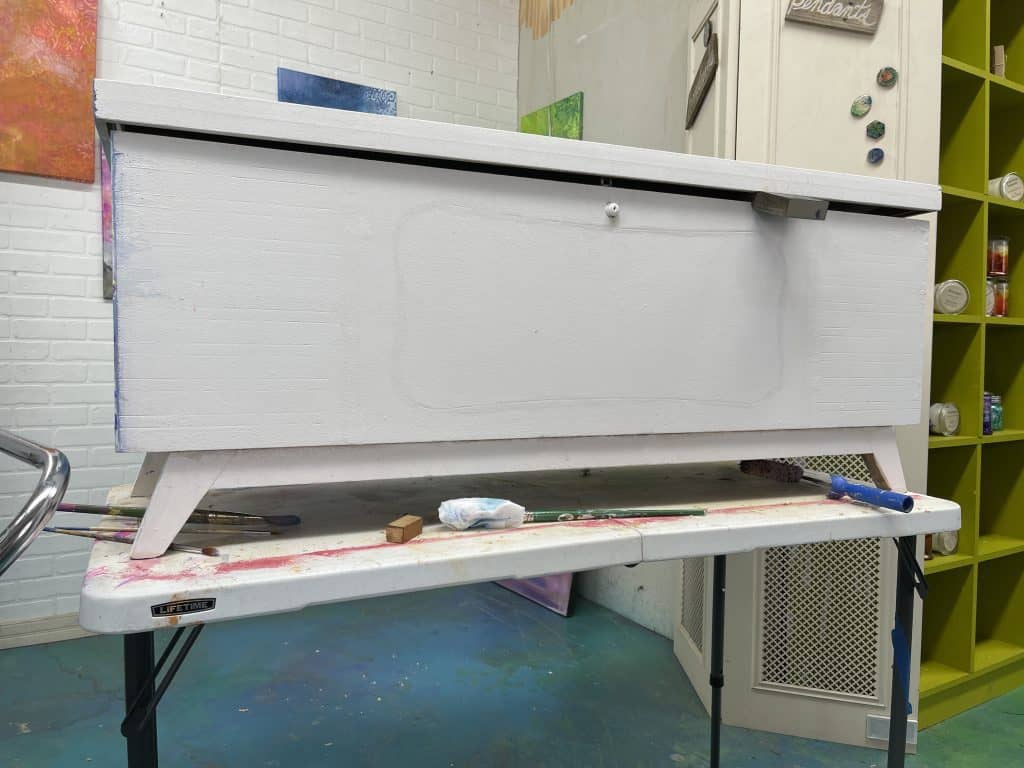
The first thing I did was find a simple piece of furniture for my design: something flat without a ton of detail or excessive corners to block my flow. Let's be honest, I was not in an upcycling mood; I was in a clean, blank unobstructed canvas mood.
I looked through my inventory and the closest thing I could find was an old lane trunk.
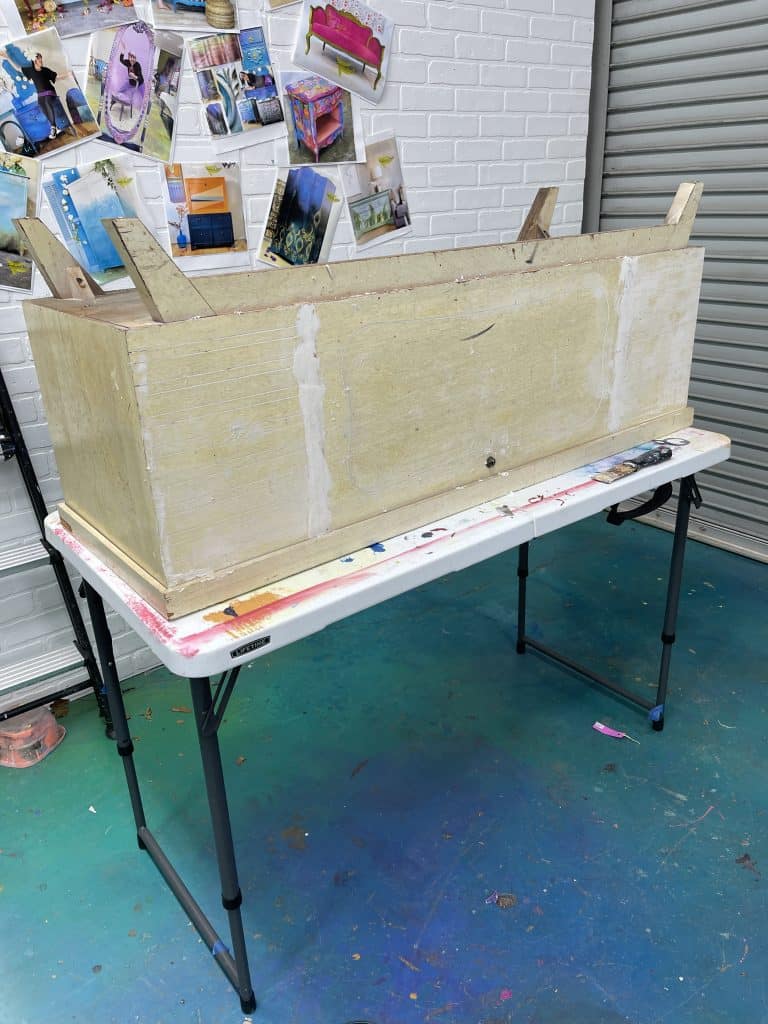
It was almost perfect but it still had a design on the front that I did not want to deal with!
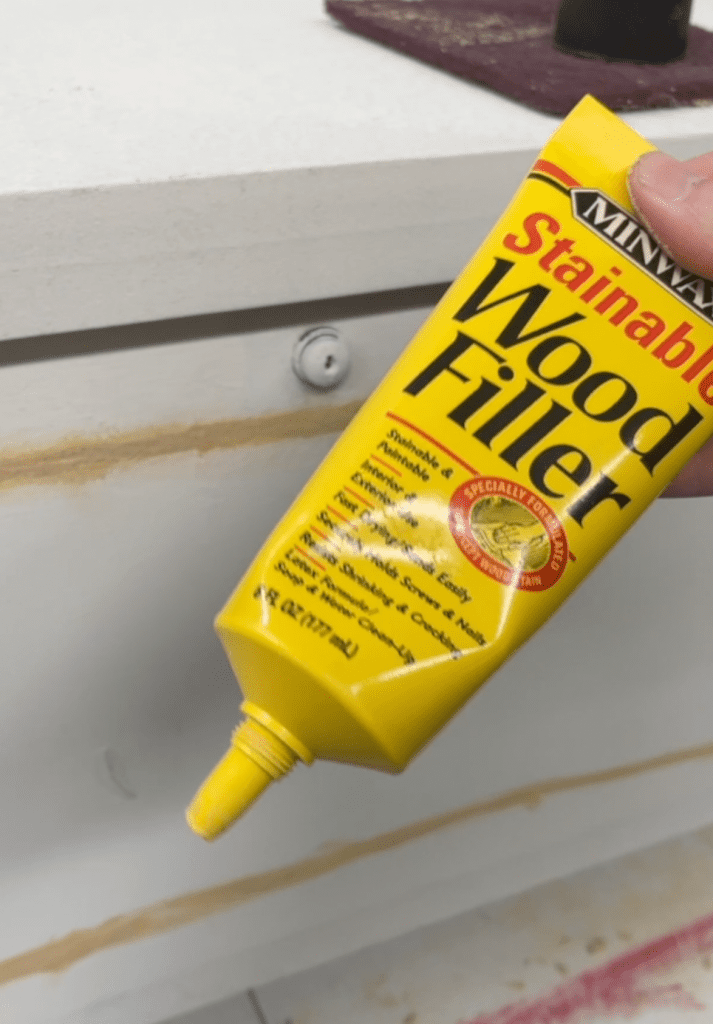
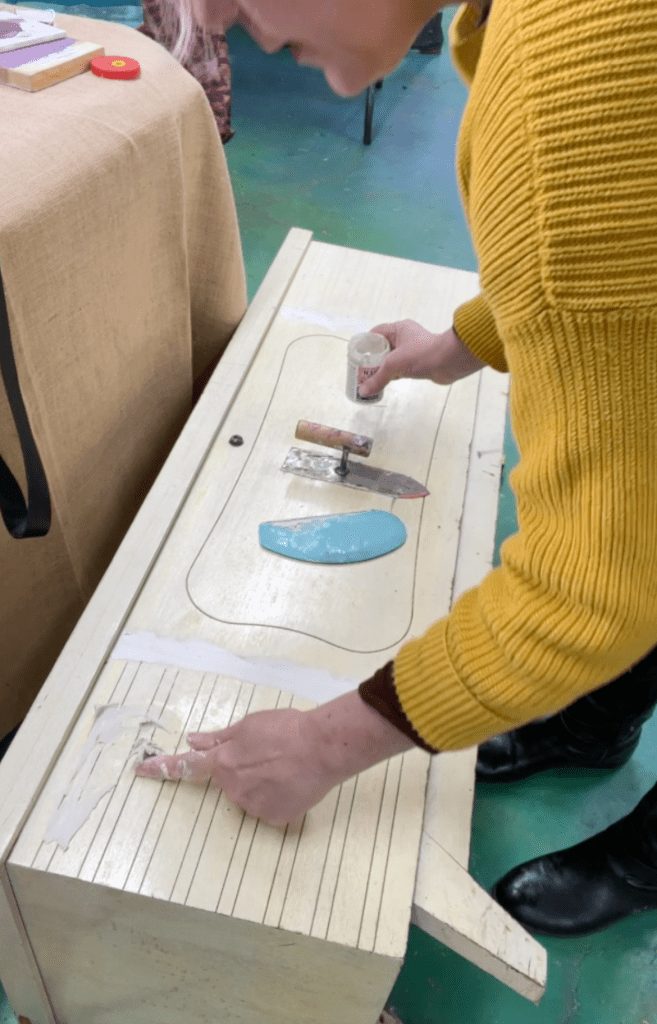
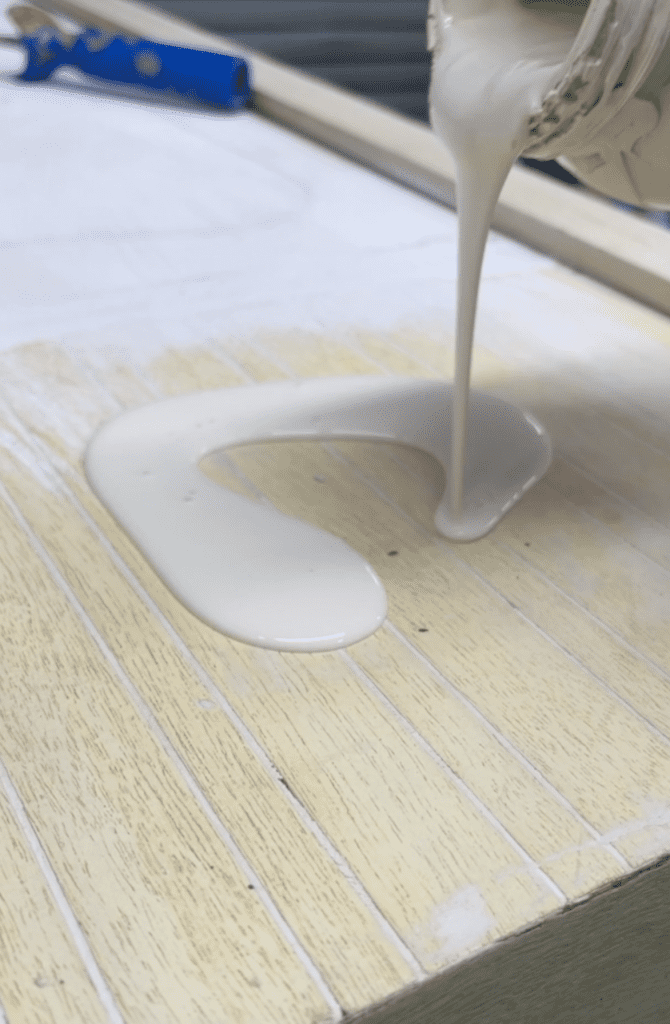
So I decided to use the trunk as my canvas, but I started by filling in the mid-century modern design elements with wood filler and then I used Miss Lillian's swamp mud to smooth out the uneven surface areas. Once that was done, it was time for a coat of ground control white by Daydream Apothecary. Using this brightest of whites helps all colors, especially the neon paints, pop off the surface.
So now I'm staring a blank white canvas which can be highly intimidating.
I wanted to create, but I didn't want to think. I didn't want to think about Facebook, Instagram, Youtube, TikTok, or my new website, hungry for content. Also, I didn't want to stop and change angles and talk to the camera. I love making videos, but we all have our moods.
I wanted to go back to the days when I painted furniture in my living room before I ever had a furniture painting business. Suddenly I remembered a piece I had painted years ago when I was similarly under the strain of running my handmade business. Let's be honest, the strain never lifts, it just ebbs and flows.
Back then, I just started painting circles. More and more circles. I kept it simple by just narrowing my color pallet. Painting this way just allowed me to go into more of an intuitive painting state.
I've never claimed to be a trained artist.
I have no color theory degree. No one ever taught me how to hold a brush or even what brush I was supposed to be using. I often just rely on the kindness of my local team at Artists and Craftsman in Hyattsville, MD. They always display enthusiasm for my next crazy experiment and show me the tools and supplies to bring it to fruition. How else would I have found out that I could use bright orange to deepen my turquoise tones?
Back to this piece...
I had initially intended to recreate the circle piece again but the design was just not flowing out of me.
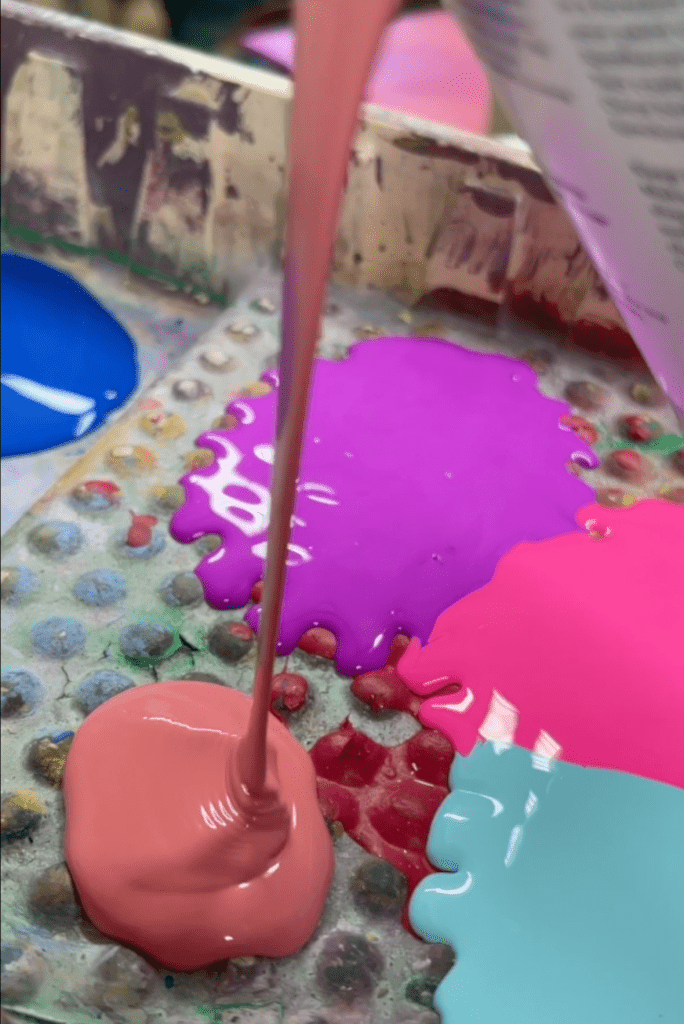
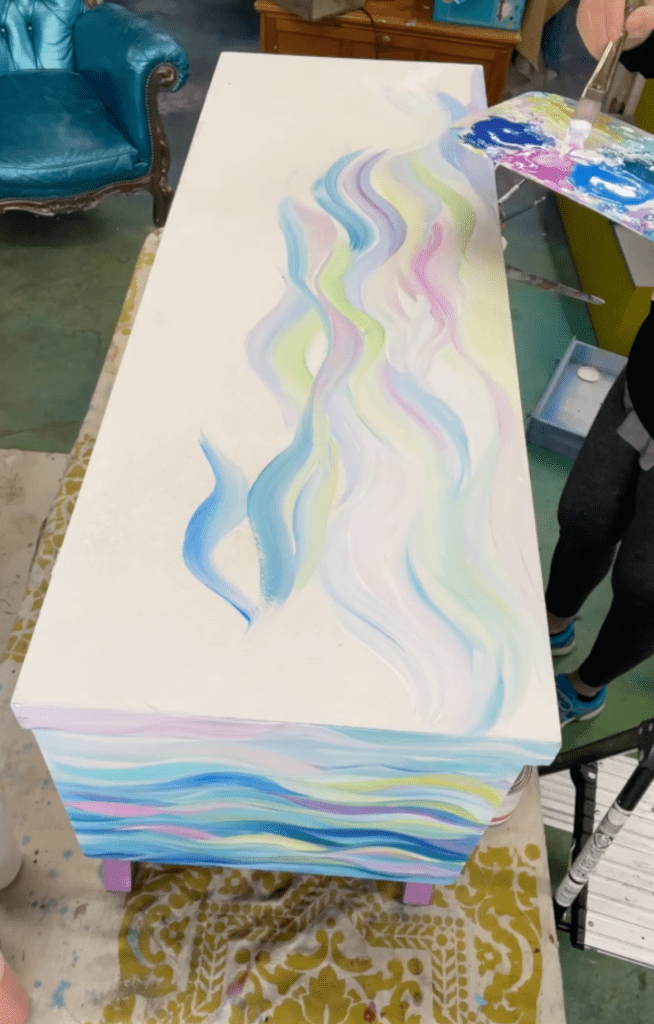
So, I started over and just poured out all the colors I wanted to play with on one plate. I picked up the brush and just swooped it. Like a wave. I remembered I had created a couple of paintings with a similar "swoop" but I had not applied the design yet to furniture. My lightbulb went off and the design came into focus.
I like for my designs to be unique but not so different that they do not resonate with a future buyer. I am in the business of selling my art furniture even though I don't often let modern trends dictate my design. In the end, I just hope my vision will find a loving (usually somewhat maximalist) home.
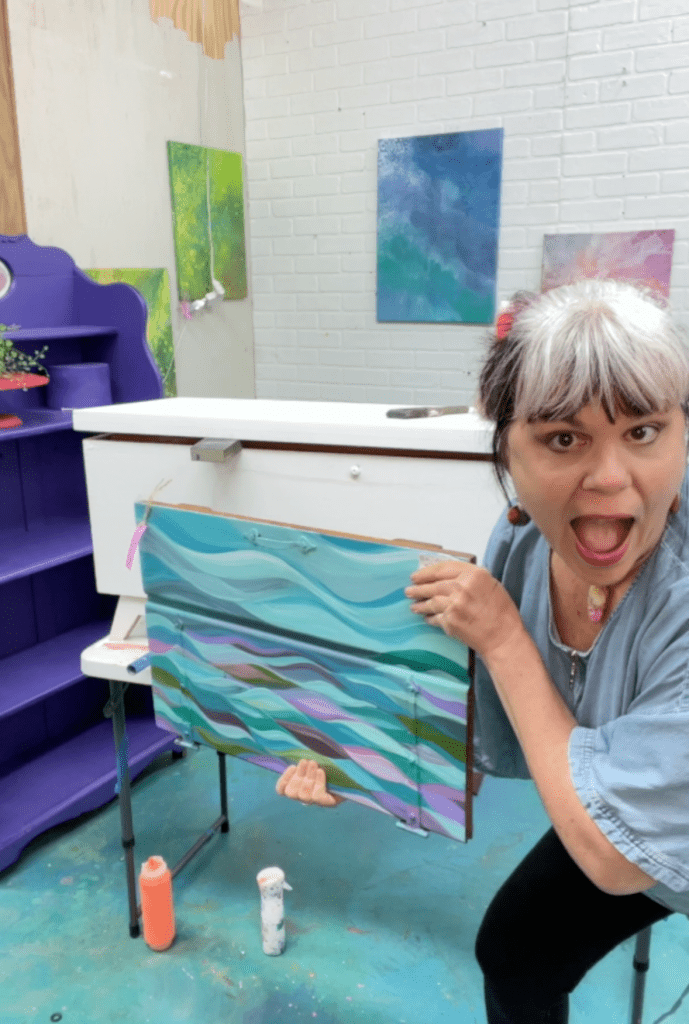
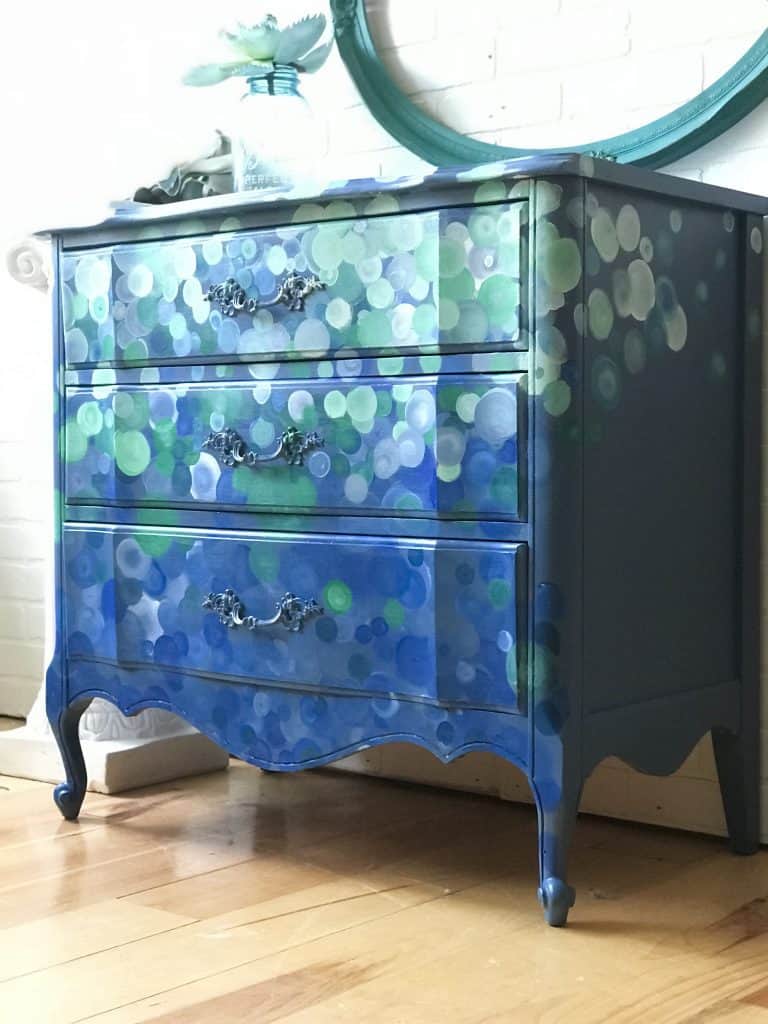
Before long, I had created a piece of abstract art that was inspired by daydreams of warmer weather, brighter colors, and days spent near water. It's funny how something so simple can turn into something you're really proud of.
I created the first layer without much thought.
Dip. Swoop. Repeat.
I felt so much better just being in the experience of this new work.
Rather than try to film every conceivable angle for my social media beasts, I setup a timelapse and let the camera follow me.
Daydream Apothecary Neon Paint ideas were in high gear.
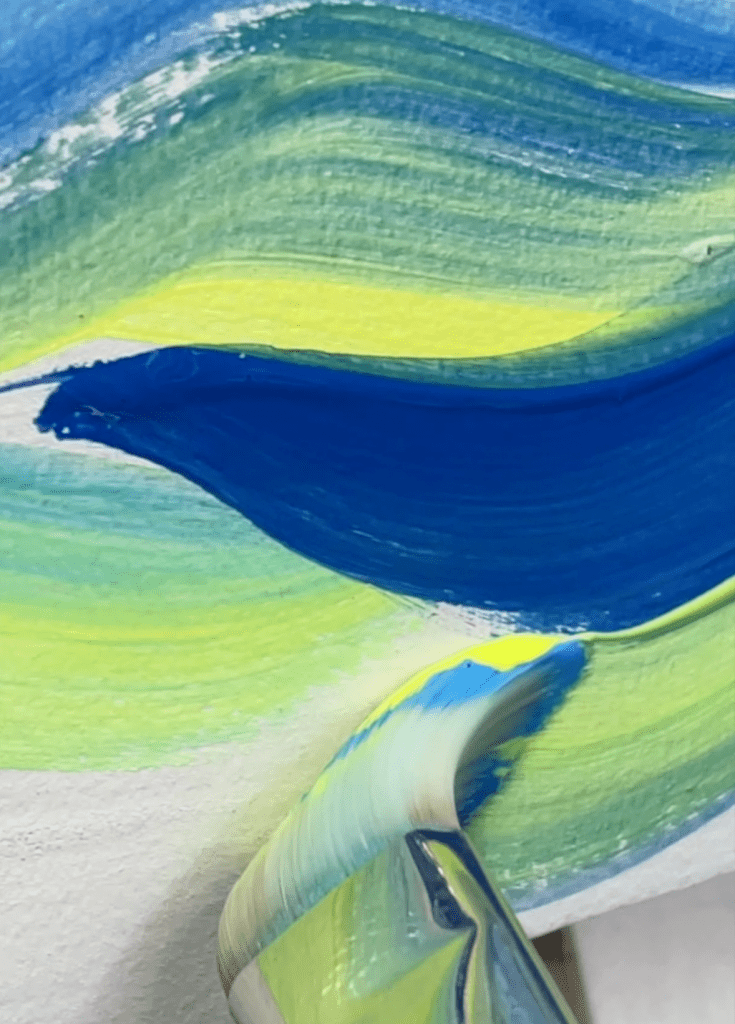
What if I used Soul Full of Sunshine, the most amazing neon yellow-green, and added it to all the blues, creating the most delicious sea greens?
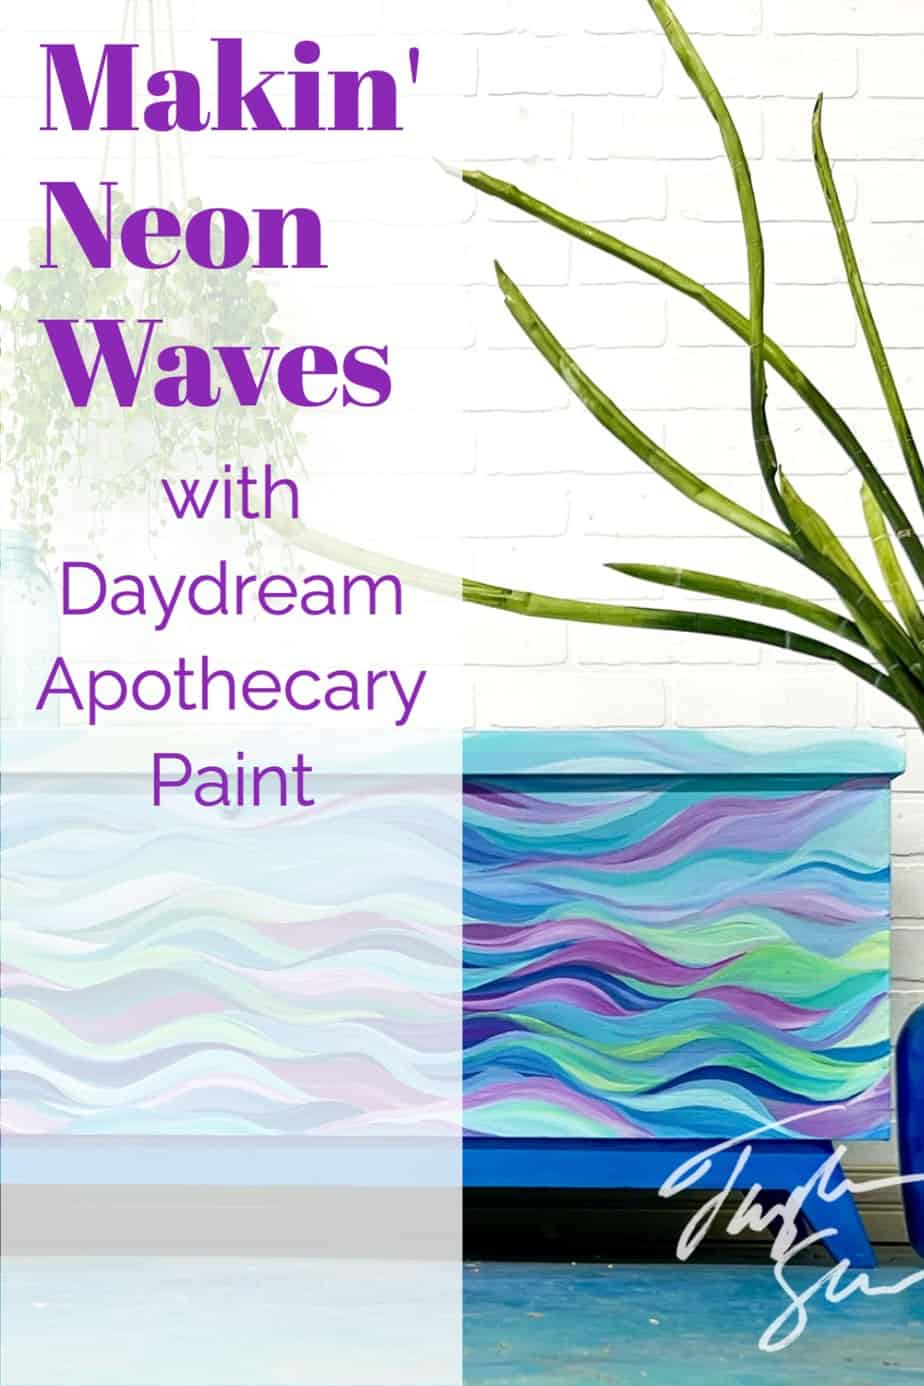
Once I had the entire basecoat done I could look up and see the flow of the entire piece. I could now see the vision but I could also see where I needed adjustments in balance to get the water illusions to take shape.
I grabbed smaller brushes at this point and started on the next layer. What's fun is that the overall concept is already there and now I'm just adding highlights and lowlights. I always envy artists who can do a rough sketch of their design, whether its a face or flowers, and then they can go back in and fill in all the details and shadows. They are able to work backward to get to their finished vision. I'm not quite there yet as an artist.
My vision only reveals itself to me once I start painting so I cant do a whole lot of preplanning. That's ok with me for now, but I do aspire to plan more and react less as I build on my painting experiences.
I covered the front and the sides so since I'd come this far I decided to just cover the entire surface. In order not to be too overwhelming, I added more and more ground control to the paint as I moved up the sides and onto the top. Like the water was getting frothier as it reached the shore.
I basically painted the whole piece without even looking up.
Now I did eventually put the cameras back on because that is my job folks. I'm basically a one-woman creative reality show with a crew of ONE.
I was already in the creative flow by then, so I was ok with my camera over my shoulder.
The last step was to add the wax. Wax is my favorite topcoat. It feels therapeutic somehow to put it on at the end. Its a ritual of sorts that signals the end of the creative process for this piece. Its almost like a closing ceremony of sorts. I can relax and brush it on, watching the color slightly darken, and then I can buff it to the perfect sheen. You can also use acrylic topcoats but honestly, the chance of drips or cloudiness always has me reaching for the wax.
Helpful FREE Topcoat chart for you.
If you want to know all about the different topcoats and what works best for each job, grab my handy chart right here.
Full Length Video Tutorial for you:
Short Form Videos:
Grab all of your painting supplies right here!
Here are all the colors and supplies I used for this fun project. I hope you will give it a try yourself. If you really love my version I've got a surprise for you.
So did a local decoupage company who turned my canvas version of this into a new decoupage paper. This means you could even use my actual waves in your next project!
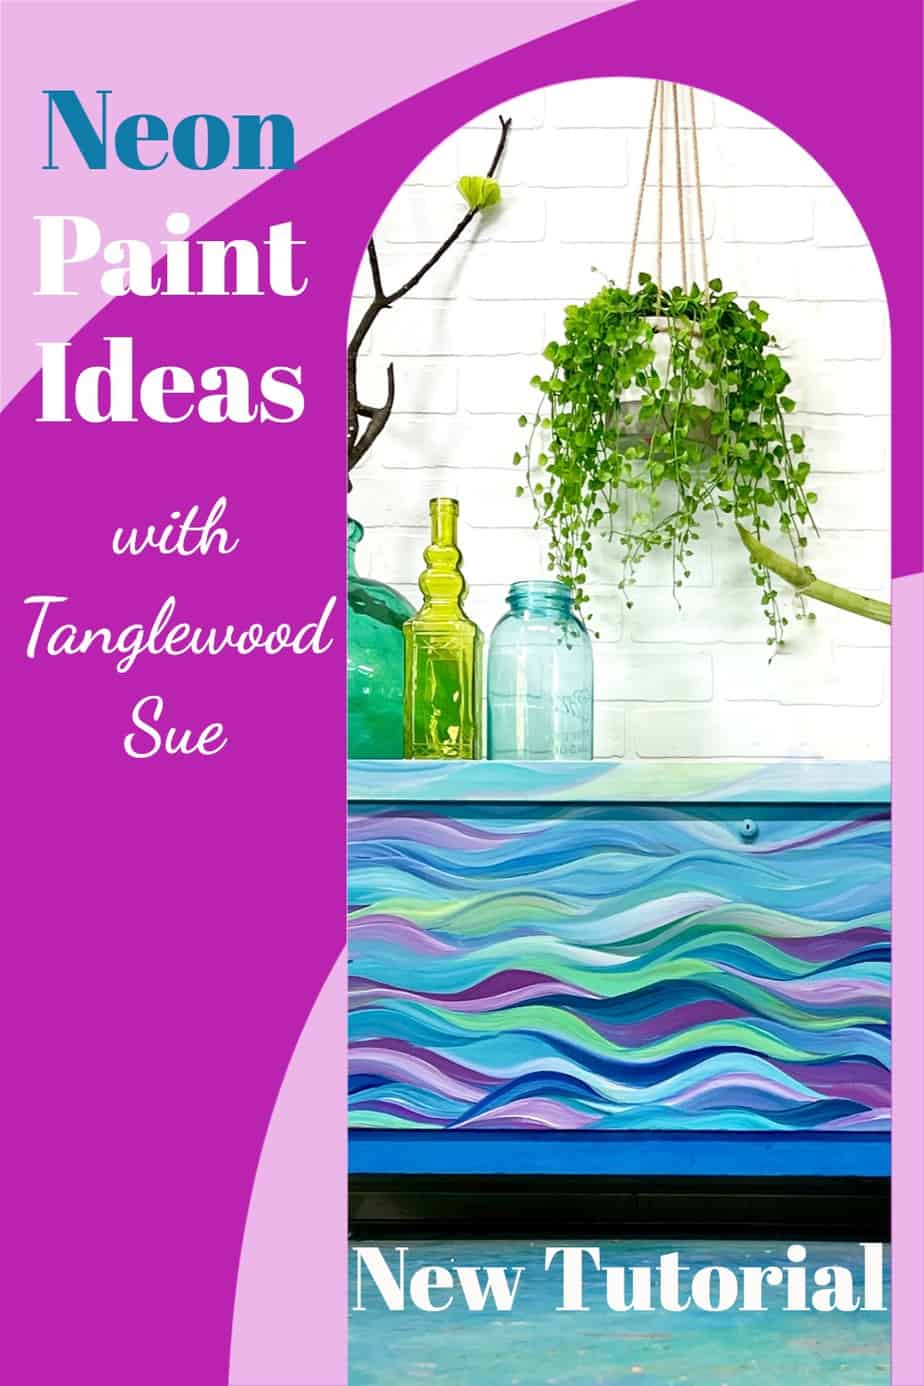
A Few Pins For You:
1 comment
Привет, друзья!
Сегодня я хочу рассказать вам об отличной находке – прокси-серверах, которые меня впечатлили своей работой!
Недавно я столкнулся с необходимостью обхода блокировок определённых сайтов, и решил попробовать использовать прокси-серверы. После долгих поисков я наткнулся на компанию, предоставляющую просто великолепные услуги в этой области.
Что меня так впечатлило? Во-первых, скорость – страницы загружаются моментально, без каких-либо задержек. Во-вторых, стабильность – не было ни одного случая пропажи соединения или перебоев в работе. И, конечно же, анонимность и безопасность – я могу быть уверенным, что мои данные защищены и мои действия в интернете остаются конфиденциальными.
Так что, если вам нужен надежный и эффективный способ обхода блокировок или обеспечения анонимности в интернете, обязательно обратитесь к этой компании – я уверен, вы останетесь довольны!
Поделитесь своим опытом использования прокси-серверов – буду рад услышать ваши отзывы и рекомендации!
[Ваш никнейм]
https://kupitproxy.online/